Building a mud kitchen using wood pallets is an excellent way to create a fun, functional, and eco-friendly play space for children. This DIY project allows you to repurpose old wood pallets, turning them into an engaging outdoor kitchen that your little ones will love. Whether you’re looking for a creative birthday gift or a weekend project, constructing a mud kitchen can be both satisfying and cost-effective.
Why Choose Wood Pallets for a Mud Kitchen?
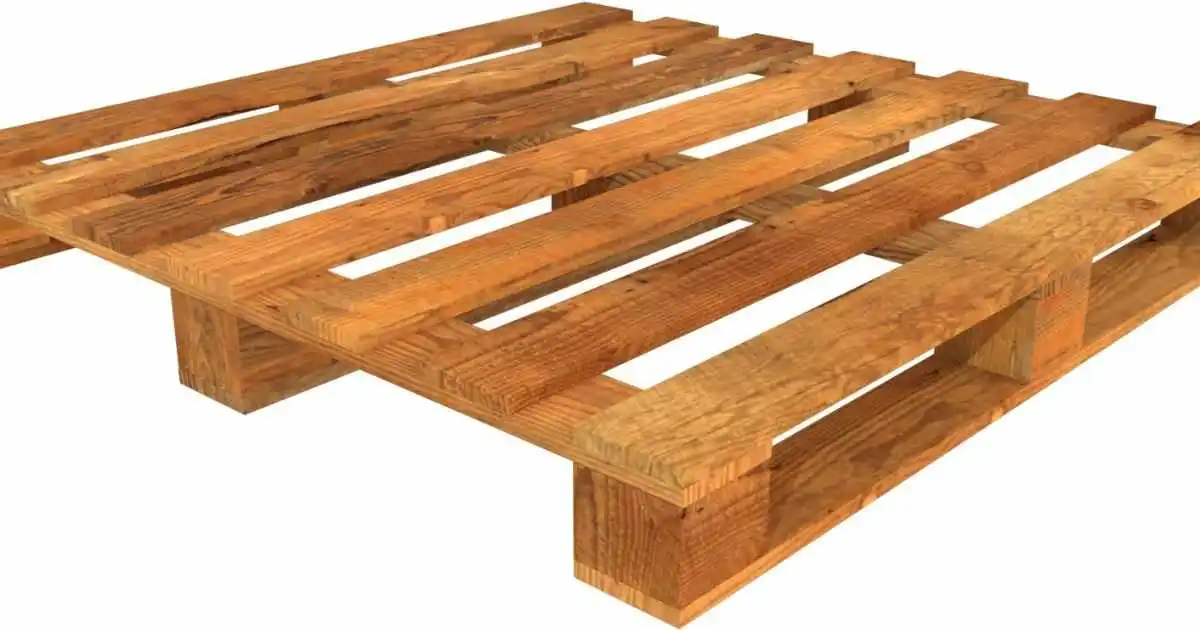
Wood pallets are a great material for building a mud kitchen due to their availability and versatility. Not only are pallets often free (many businesses give away used ones), but they also bring a rustic charm to your outdoor space. By reusing pallets, you reduce waste, contribute to sustainable living, and give your garden a unique touch. The wood is sturdy enough to withstand weather and the playful hands of children, making it an ideal choice.
Tools and Materials You Will Need
Before you start building, gather the necessary tools and materials to ensure a smooth process. Here’s a list of essentials:
Tools:
- Circular saw or handsaw
- Drill and driver
- Orbital or belt sander
- Hammer
- Crowbar or prybar (optional)
- Sandpaper
Materials:
- 2 wood pallets (free or purchased)
- Pressure-treated lumber (2x4x24”)
- Nails and screws
- Paint and accessories (optional)
These tools and materials will help you break down the pallets, assemble the kitchen frame, and add finishing touches.
Step-by-Step Guide to Building Your Mud Kitchen
Now that you have your tools and materials, it’s time to start building the mud kitchen. Follow these simple steps:
1. Prepare and Cut the Pallets
Begin by measuring and cutting the pallets to the required size. You can adjust the measurements depending on the space available. Typically, one pallet is cut in half to create the main surface, while the second pallet can be used to create the bottom shelf. Don’t worry about making exact cuts—pallets are often irregular in shape, so this step allows for some flexibility.
2. Disassemble the Pallets
Use a crowbar or prybar to break the pallets into individual slats. If you find this method difficult, consider using a reciprocating saw to cut through the nails and remove the slats. This step is crucial as it gives you the individual pieces that will form the base and countertop of your mud kitchen.
3. Assemble the Base and Countertop
Once the pallets are disassembled, arrange the slats to form a solid counter surface. You might need to trim the slats to fit perfectly, depending on the pallet sizes. Attach the slats using nails or screws to create a secure surface. The next step is to add the bottom shelf, which can be assembled using the remaining slats from the second pallet.
4. Sand the Surfaces
To avoid any splinters and ensure safety for children, it’s essential to sand the entire surface thoroughly. Using an orbital or belt sander will give the wood a smooth finish. If you’re working with rough or uneven slats, be patient and focus on smoothing out any rough edges. This is a crucial step in ensuring the durability of your mud kitchen.
5. Attach the Legs
For added stability, attach pressure-treated 2x4s as legs to elevate the mud kitchen. The height can vary, but keep in mind that it should be accessible for kids. Secure the legs with screws and make sure they are firmly attached to the main frame and lower shelf.
6. Add a Back Splash
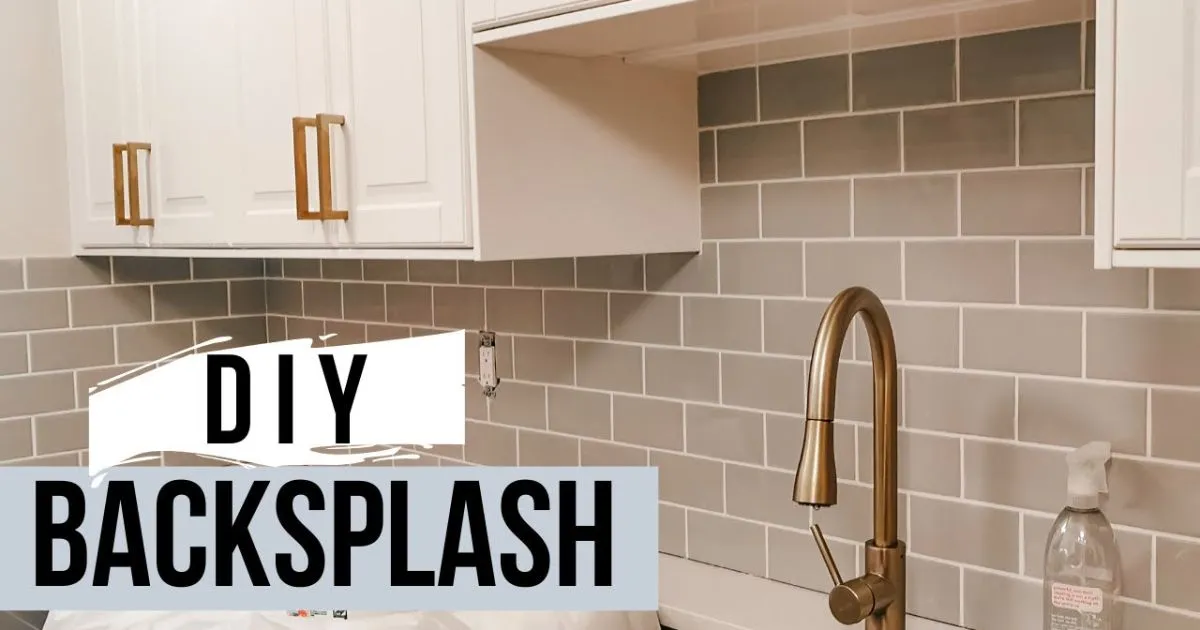
To complete the look, you can add a simple backsplash using extra slats or braces from the pallet. This will provide additional support and can be a great place to hang kitchen utensils or accessories. Ensure the backsplash is securely attached to the frame using screws.
7. Customize with Accessories
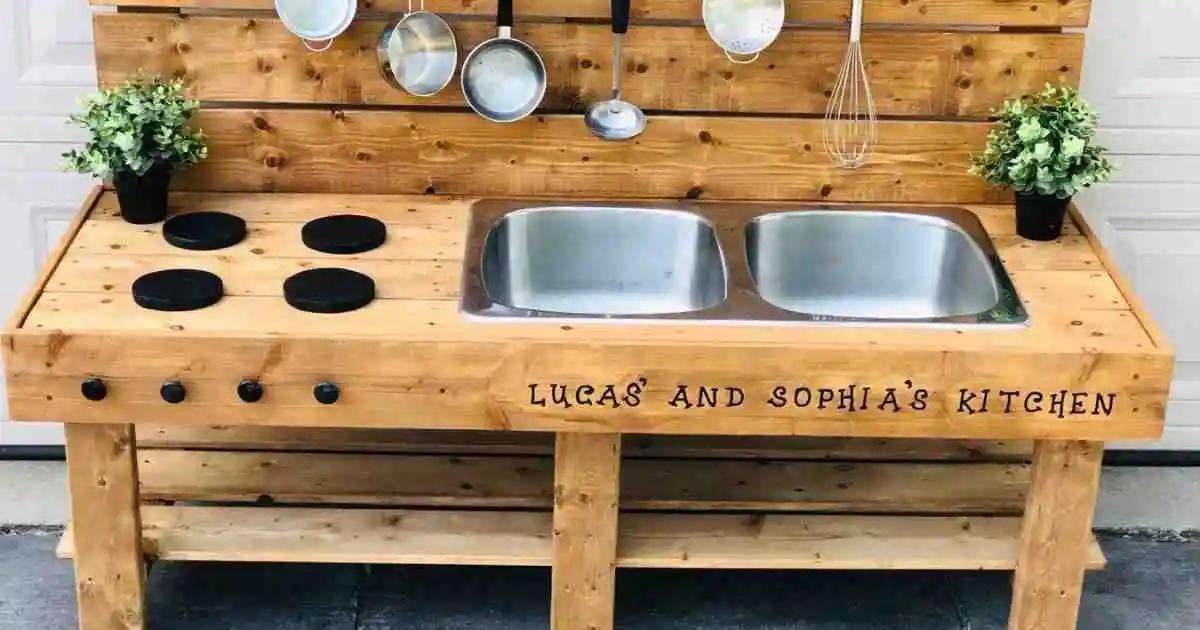
Customize the mud kitchen with fun details like painted stove knobs, a sink made from an old pot, or hooks for hanging tools. This is where you can get creative and let your child’s imagination run wild. Consider adding a faucet using a repurposed garden hose or a set of small pots for a more realistic look.
8. Finish and Paint
To protect the wood from the elements, especially if the mud kitchen will be placed outside, finish the project with a protective coat of outdoor paint. You can choose a fun color or a natural wood finish, depending on the aesthetic you’re going for.
Maintaining Your DIY Mud Kitchen
To ensure the longevity of your DIY mud kitchen, regular maintenance is important. Keep an eye on any weather damage and sand the surfaces if necessary. Reapply paint or weatherproofing sealants to protect the wood from the sun, rain, and snow. Regular upkeep will help your mud kitchen last through seasons of outdoor play.
Conclusion
Building a DIY mud kitchen using wood pallets is a rewarding project that combines creativity, sustainability, and fun. It’s an affordable way to craft a unique outdoor space for children, providing them with a place to explore and engage in imaginative play. By following the simple steps outlined in this guide, you can create a safe and attractive mud kitchen that will bring joy to your family for years to come.
FAQ’s
What is a mud kitchen?
A mud kitchen is an outdoor play area designed for children to mimic cooking and food preparation. It often includes a countertop, sink, and accessories such as pots, pans, and utensils, allowing kids to engage in pretend cooking with mud, water, and other natural materials.
Can I make a mud kitchen from any type of wood?
While you can use different types of wood, it’s best to use weather-resistant materials like pressure-treated wood or pallets.
How long does it take to build a mud kitchen?
Building a mud kitchen can take anywhere from a few hours to a couple of days, depending on the complexity of your design and the tools you have available.
How can I make the mud kitchen more functional?
To make the mud kitchen more functional, add features such as a working faucet (using an old garden hose), paint stove knobs, and incorporate a storage area for accessories.

David Carter is a passionate gardening enthusiast with years of experience in cultivating both outdoor gardens and indoor house plants. With a deep love for nature and sustainable living, they have dedicated their career to sharing tips, tricks, and advice on how to nurture thriving plant collections.
